Getting Started
For background information, see the What is Wag? page.
Installation
Create your directories:
mkdir data
mkdir config
Define your config as config/config.json:
{
    "NAT": true,
    "Webserver": {
        "Lockout": 5,
        "Tunnel": {
            "Domain": "vpn.example.com",
            "Port": "8080",
            "MaxSessionLifetimeMinutes": 480,
            "SessionInactivityTimeoutMinutes": 60,
            "HelpMail": "[email protected]",
            "DefaultMethod": "totp",
            "Issuer": "vpn.example.com",
            "Methods": [
                "totp"
            ]
        },
        "Public": {
            "ListenAddress": "wag:8081",
            "ExternalAddress": "registartion.example.com",
            "DownloadConfigFileName": "wg0.conf"
        },
        "Management": {
            "Enabled": true,
            "ListenAddress": "wag:4433",
            "Password": {
                "Enabled": true
            }
        }
    },
    "Clustering": {
        "ClusterState": "new",
        "DatabaseLocation": "/data",
        "ETCDLogLevel": "error",
        "ListenAddresses": [
            "https://127.0.0.1:2380"
        ],
        "TLSManagerListenURL": "https://127.0.0.1:3434",
        "TLSManagerStorage": "/data/"
    },
    "Wireguard": {
        "DevName": "wg0",
        "ListenPort": 53230,
        "PrivateKey": "GOHcDwwG2mxp6TWSIrOxQneqUXpmmWKKqhhwx2eH6EE=",
        "Address": "192.168.122.1/24",
        "ServerPersistentKeepAlive": 0
    }
}
Set your private key
# Replace REPLACE_ME with:
wg genkey
Start your service:
services:
  wag:
    image: wagvpn/wag:latest
    container_name: wag
    restart: always
    cap_add:
      - NET_ADMIN
    ports:
      - '127.0.0.1:4433:4433/tcp'   # Admin page
      - '8081:8081/tcp'   # Public registration
      - '53230:53230/udp' # WireGuard port
    volumes:
      - ./config/:/cfg/:z
      - ./data/:/data:z
    devices:
- /dev/net/tun:/dev/net/tunsudo docker compose up -dOn first run Wag will generate an administrative user that you can then log in to, e.g:
2025/08/26 13:21:26 [ADMINUI] *************** Web interface enabled but no administrator users exist, generating new ones CREDENTIALS FOLLOW ***************
2025/08/26 13:21:26 [ADMINUI] Username:  766cbc6ac35c0055
2025/08/26 13:21:26 [ADMINUI] Password:  c9c5671d441cbc2a09c644449ddc3f98
Adding your first User
Login to the management portal, click on "Registration Tokens":
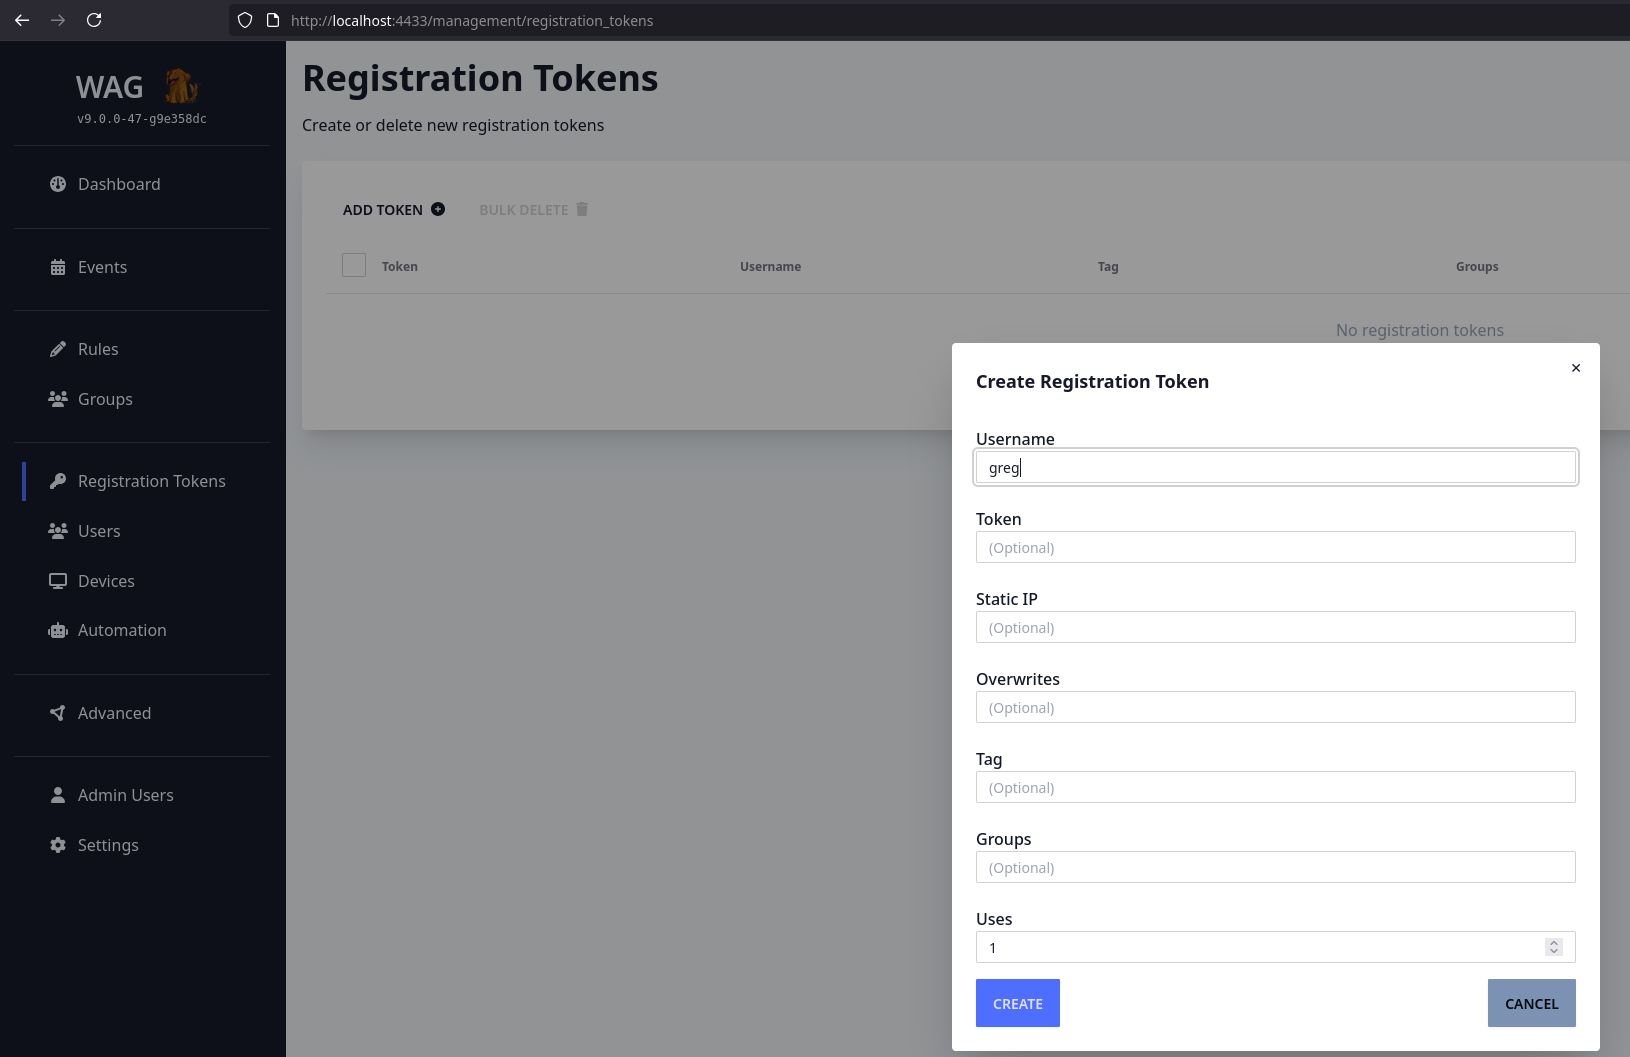
Add in your username:
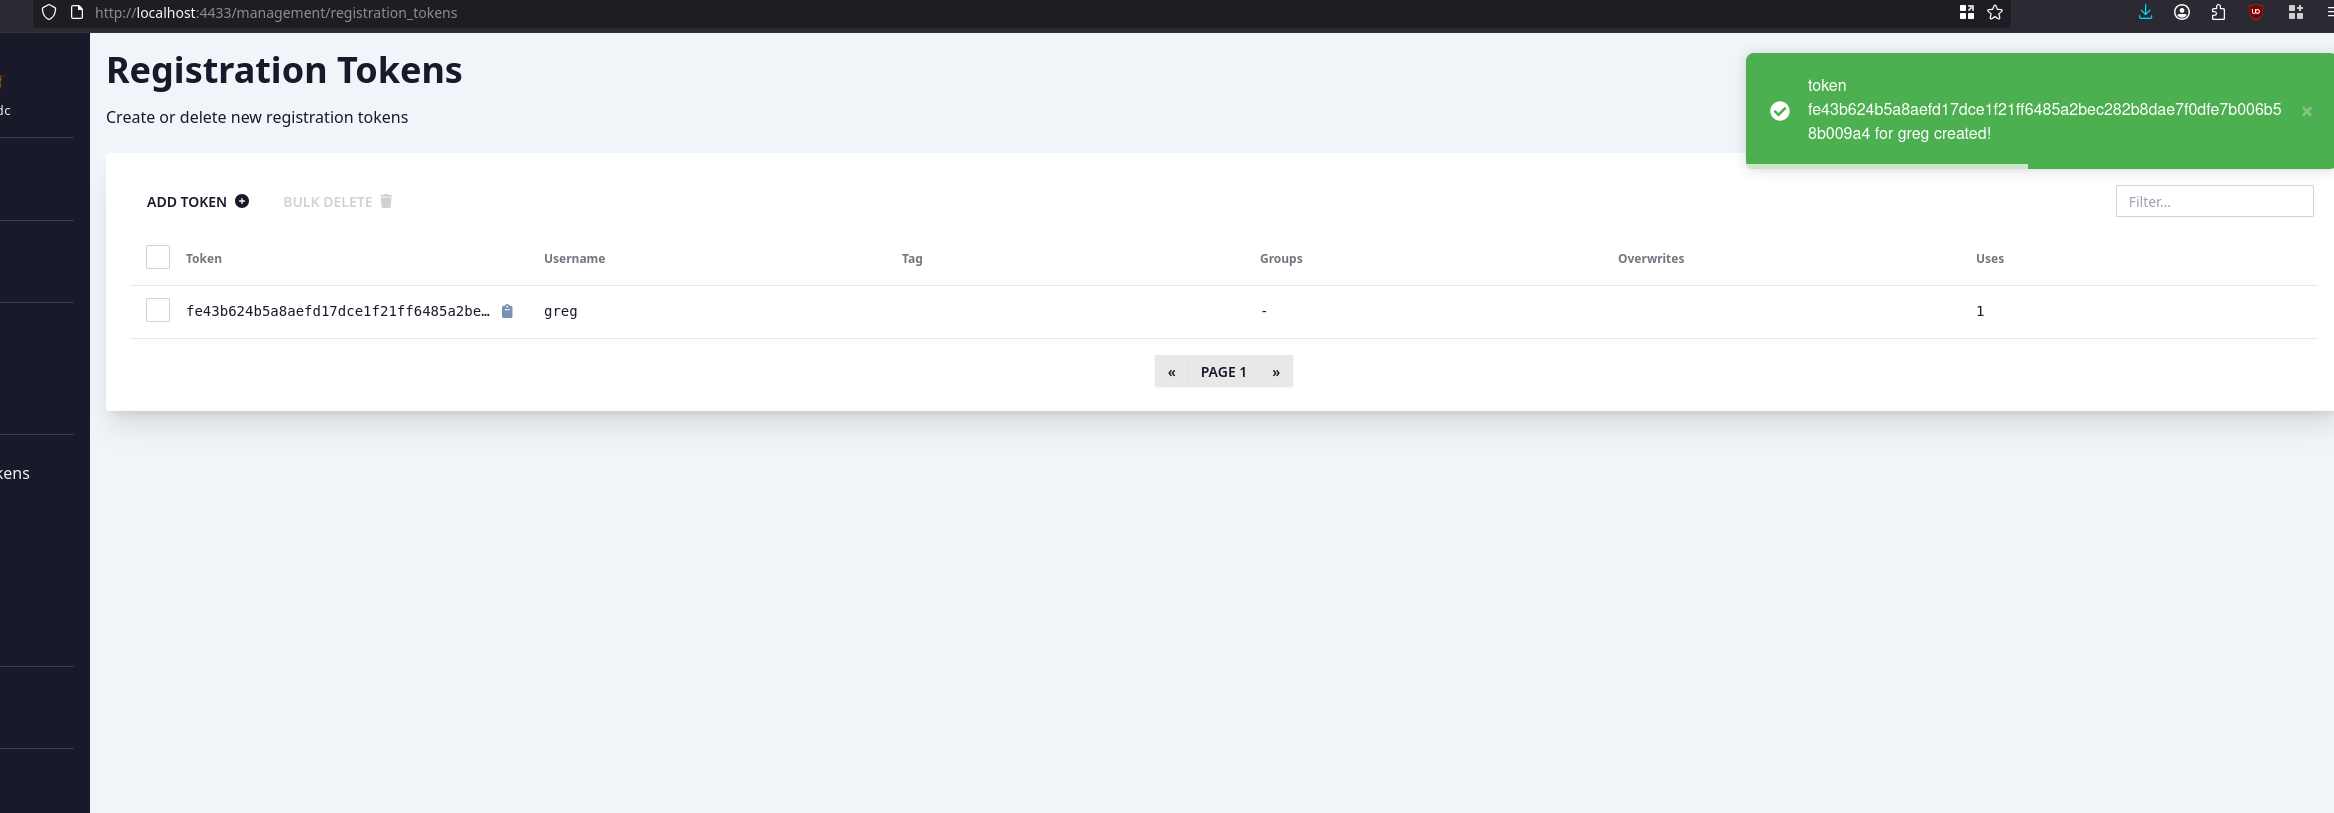
For the purposes of this example, we are just going to curl the key, which triggers the user and device creation.
curl http://127.0.0.1:8081/register_device\?key\=fe43b624b5a8aefd17dce1f21ff6485a2bec282b8dae7f0dfe7b006b58b009a4Resulting wireguard INI:
[Interface]
PrivateKey = 4PATAK4SQlWRdjxoCgWE39zdfEdXuwh4vHbOvfBs730=
Address = 192.168.122.2
[Peer]
Endpoint = 192.168.121.61:53230
PresharedKey = iuEEblu0D9DhV1f82oVdhyoomFsDOfuC9wzlD3Vo1oo=
PublicKey = z2maXX7i3j1B88qjKMT6NBf40iZ7vo6Rfsw5v989zE8=
AllowedIPs = 192.168.122.1/32
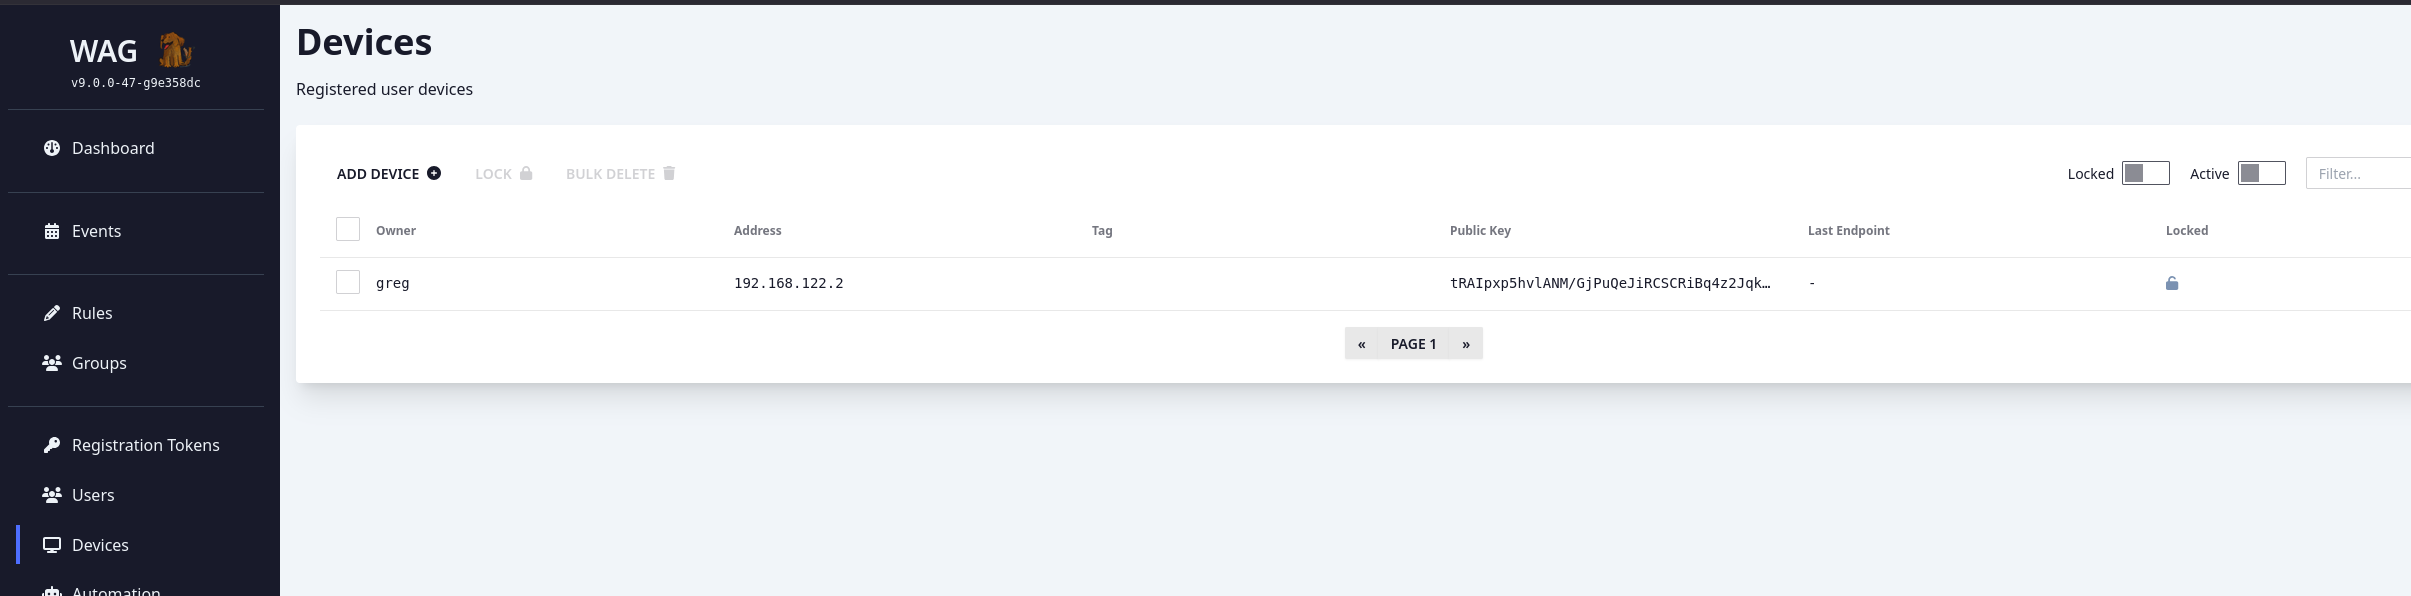
PersistentKeepAlive = 10Now if you browse to users or devices, you can see they are populated with one user! 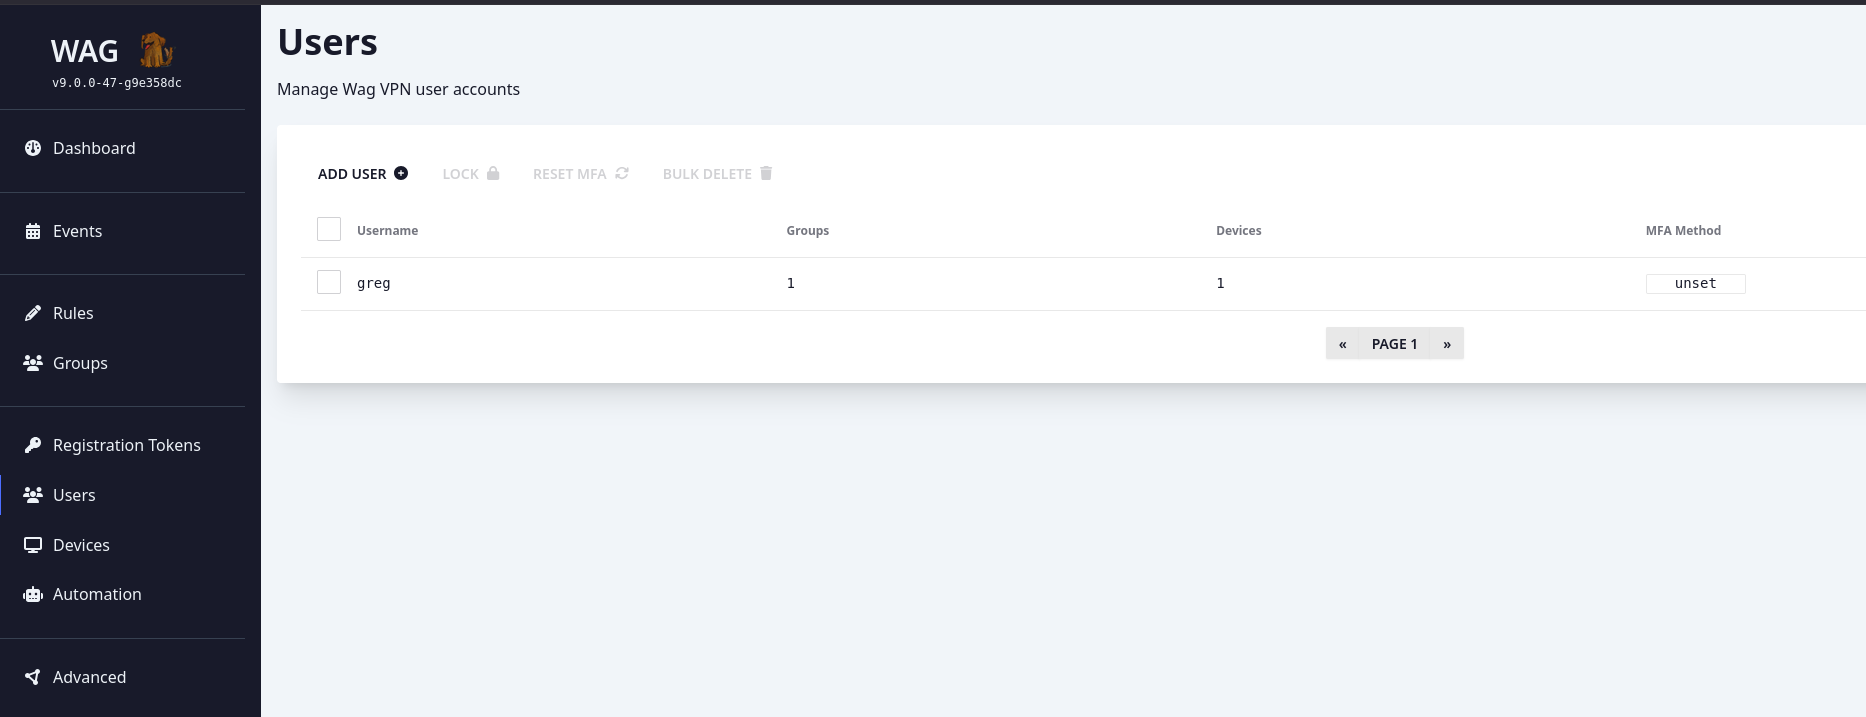
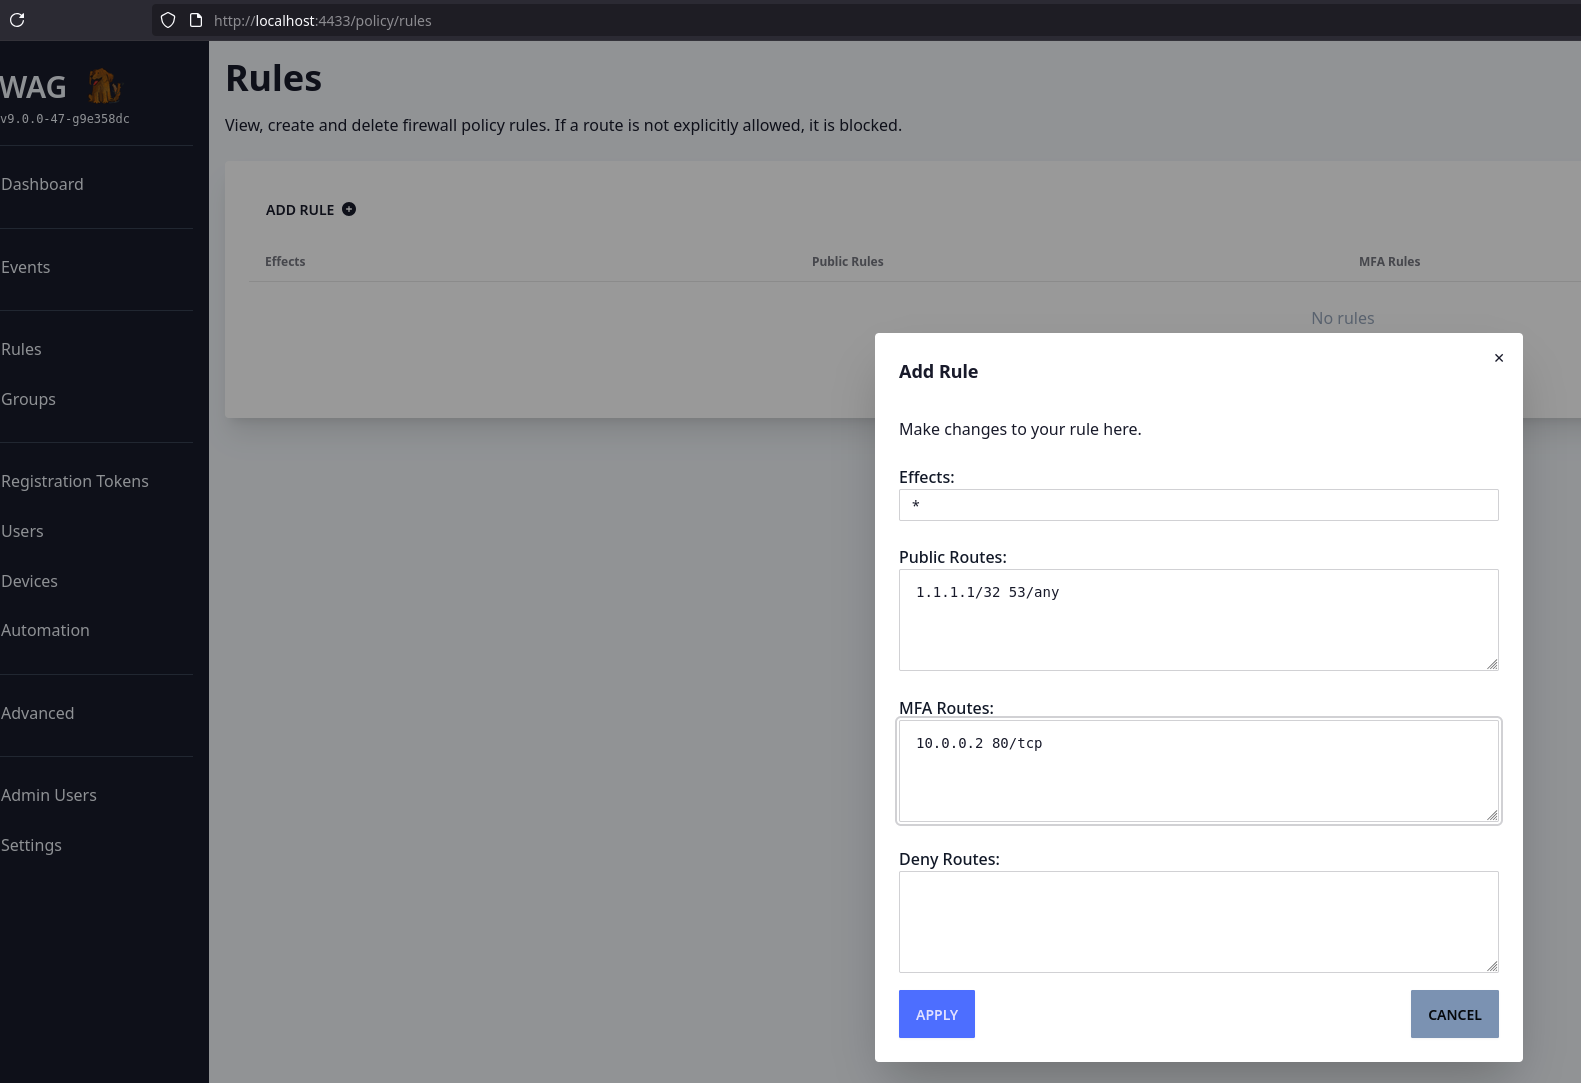
Defining your first rule
Browse to "Rules" and click "Add Rule":
In this example we are creating a rule that effects the "all" group, a special group that all users and groups belong to (note the *).
On your wireguard client, you can now query the /api/status to show how the changes propagate.
curl http://vpn.example.com/api/statusOnwards!
Your wag instance should now be setup and working